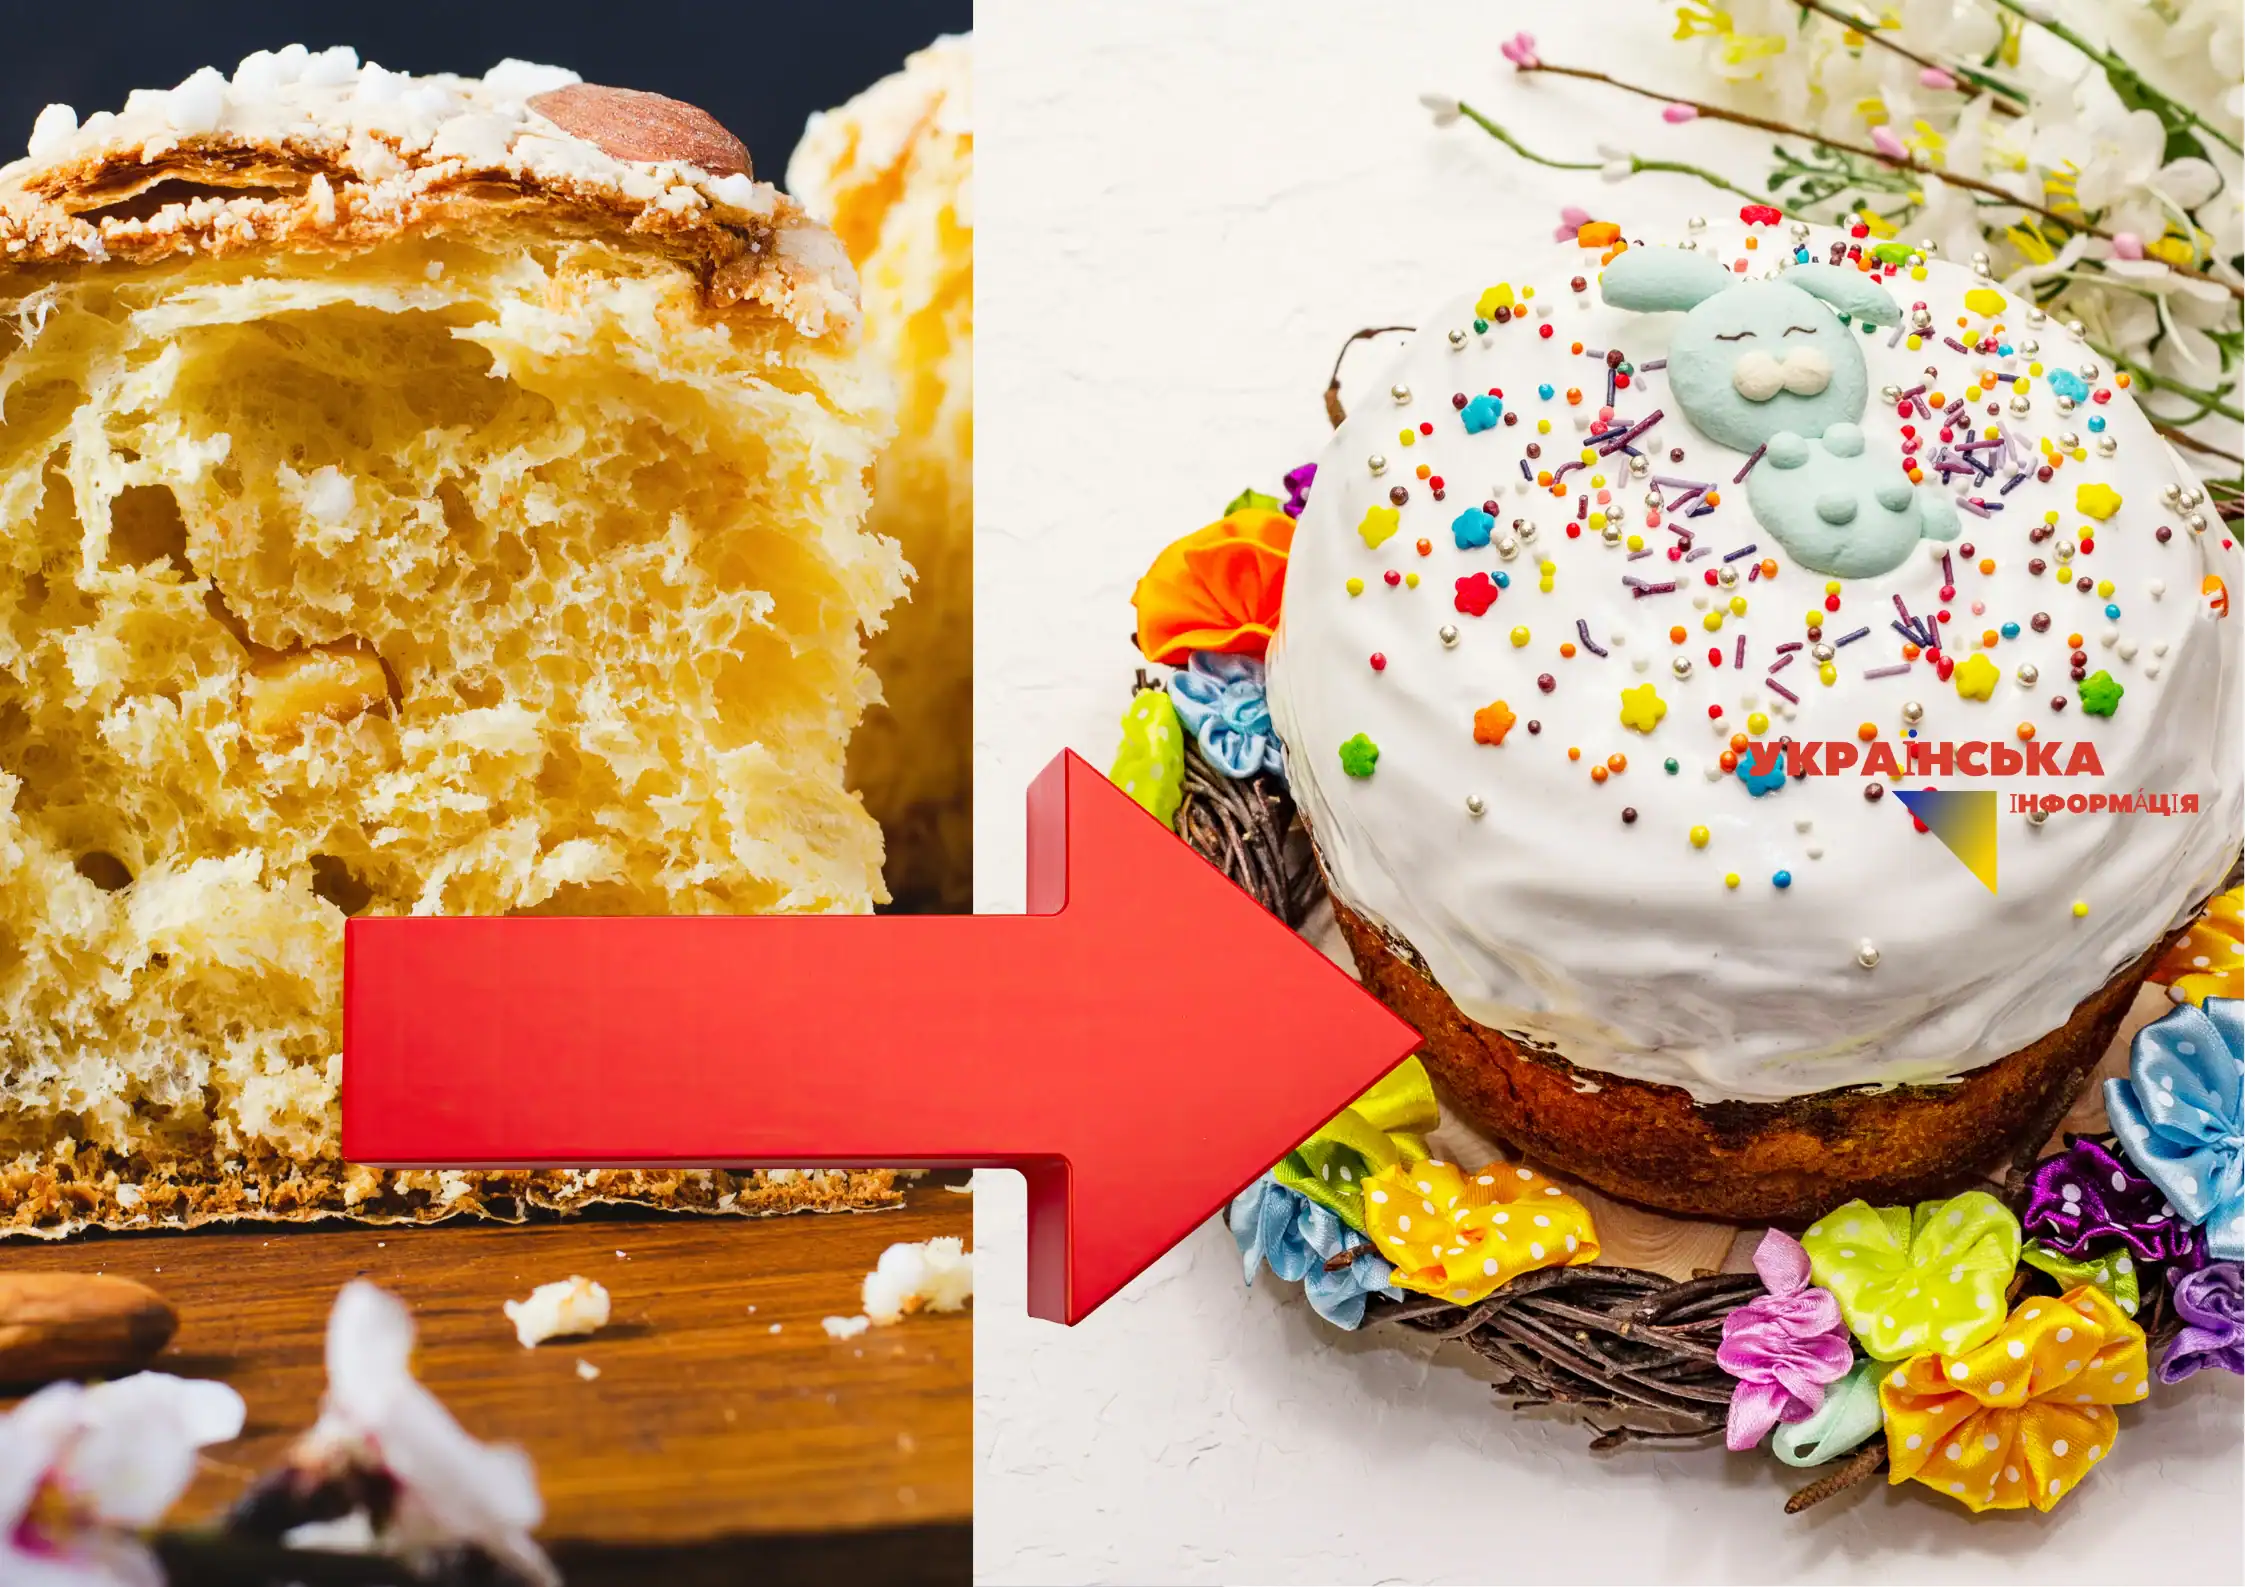
I am writing this article on the eve of Easter 2026, which falls on April 12, and the preparation for this holiday always begins with the search for the same recipe for Easter bread. Ukrainian women have always approached this with special care and recipes were passed down from grandmother to mother and daughter. Making Easter bread is not just kneading and baking, it is a real
I am writing this article on the eve of Easter 2026, which falls on April 12, and preparation for this holiday always begins with finding the same recipe for Easter bread. Ukrainian women have always approached this with a special selection and passed down recipes from grandmother to mother and daughter. Making Easter bread is not just kneading and baking, it is real magic, where every ingredient matters so that the Easter bread is fluffy and does not become stale. And some housewives say that Easter bread directly depends on the mood of the housewife who prepared it. And this directly affects both the height of the dough rise and the final appearance. Therefore, it was customary for our mothers and grandmothers to pray to God so that the whole process would go well. During my 20 years in the kitchen, I have developed a formula for the perfect pastry that combines the tenderness of a French brioche bun and the richness of a traditional Ukrainian muffin that lasts until the Ascension and does not become stale or moldy.
Many people are afraid of yeast dough, considering it capricious. However, I promise: with this step-by-step guide, even a beginner who first takes up flour will get a fluffy, moist and aromatic Easter cake that will not become stale within a week. We will analyze each stage – from choosing the right yeast to creating a mirror glaze that does not crumble when cut. This Easter cake recipe 2026 was developed by me personally and I am sharing it specifically for the readers of the publication “Ukrainian Information” so that your holiday is filled with comfort and perfect taste. Therefore, put aside all quarrels, prepare a good mood, pray and we can begin.
Read also: How to dye eggs without chemicals: 10 natural dyes that are in every kitchen
List of ingredients for the perfect Easter cake
For best results, use a kitchen scale. The proportions are for 4-5 medium-sized Easter cakes. If you have a large family or often give Easter cakes to relatives like me, you can add everything in double quantities, then you will have about 10 Easter cakes.
The basic set of ingredients for Easter cake dough:
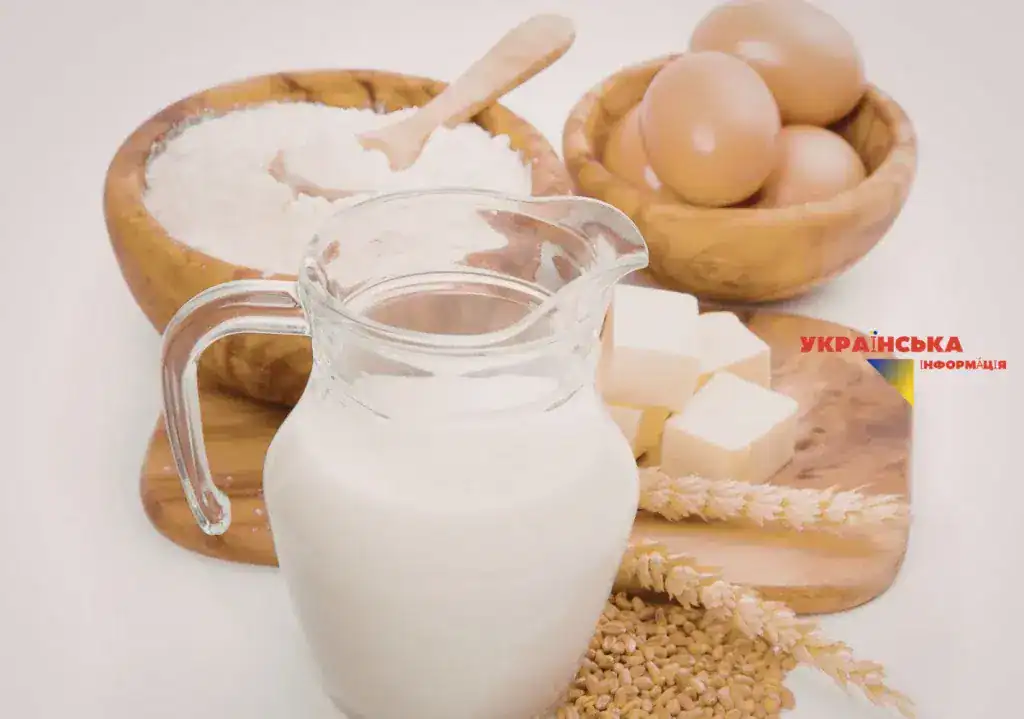
- Milk (fat content from 2.6%) – 250 ml.
- Yeast (fresh pressed) – 40 g (or 11-12 g of dry active yeast).
- Sugar – 20 g.
- Wheat flour (high grade) – 150 g.
For the main dough:
- Wheat flour – 550–600 g (depends on the moisture content of the flour).
- Egg yolks — 6 pcs.
- Sugar – 200 g.
- Butter (82.5% fat) — 150 g.
- Sour cream (fat, 20-25%) — 100 g.
- Salt – 5 g.
- Vanilla extract or sugar – 10 g.
- Zest of one lemon.
- Raisins and candied fruits – 150 g (pre-soaked in cognac or rum for a bright aroma, but if you plan to celebrate Easter, then without alcohol, because alcohol is prohibited for celebrating).
For gelatin glaze (very convenient, beautiful, and practical because it doesn’t fall apart, doesn’t crumble, keeps for a long time, and is delicious even after a week):
- Sugar – 200 g.
- Water — 50 ml for syrup + 2 tbsp. l. for gelatin.
- Gelatin – 5 g.
- Lemon juice – a few drops.
Step-by-step cooking technology
Stage 1: Preparing the dough
Dissolve the sugar and yeast in warm milk (temperature about 35-38 degrees). Add the sifted flour and mix with a whisk until smooth. Cover the container with a towel and leave in a warm place for 30-40 minutes.
My personal tip: The dough should triple in size and look like a fluffy sponge with lots of bubbles. If the dough hasn’t risen, the yeast was of poor quality, and there’s no point in continuing the work — the result won’t be good. It’s worth trying another high-quality yeast.
Stage 2: Working with the yolks
The yolks, which have been previously separated from the whites (to remove the yolk from the whites, use an empty plastic bottle where, when squeezed, a vacuum is formed over the yolk and the yolk is removed without damage, or use a special tool), grind with sugar and salt until white. The sugar should almost completely dissolve, otherwise it will crackle on your teeth. Add vanilla, lemon zest and sour cream at room temperature.
My personal tip: Using only egg yolks, not whole eggs, makes the Easter cake crumb bright yellow, very tender and “moist”. And it is the yolks that prevent the pastry from getting stale quickly, which is why our grandmothers always used this recipe.
Stage 3: Kneading the dough
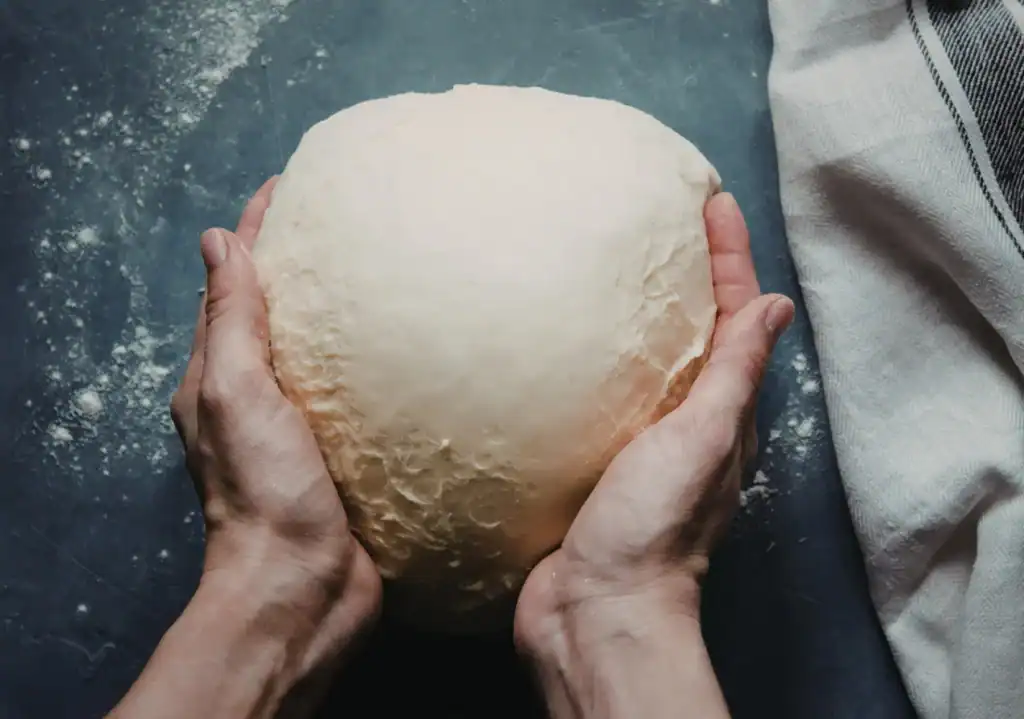
Combine the dough with the yolk mixture. Gradually add the sifted flour. Start kneading the dough with your hands or in a food processor. When the mixture becomes smooth, add the softened butter in small portions.
Tip at this stage: Knead the dough for at least 15–20 minutes. It should become elastic, shiny and no longer sticky to your hands, but still very soft. Do not “clump” the dough with excess flour, otherwise the Easter cake will be dry.
Stage 4: First rise and adding the filling
Place the dough in a large, oiled bowl, cover with cling film and leave in a warm place for 1.5–2 hours. When the dough has doubled in size, punch it down and add the dried candied fruits and raisins. Distribute them evenly throughout the dough.
Tip: There should be absolutely no drafts in the room where the dough is rising. Even an open window can “settle” the dough, and it will no longer rise.
Stage 5: Shaping and baking
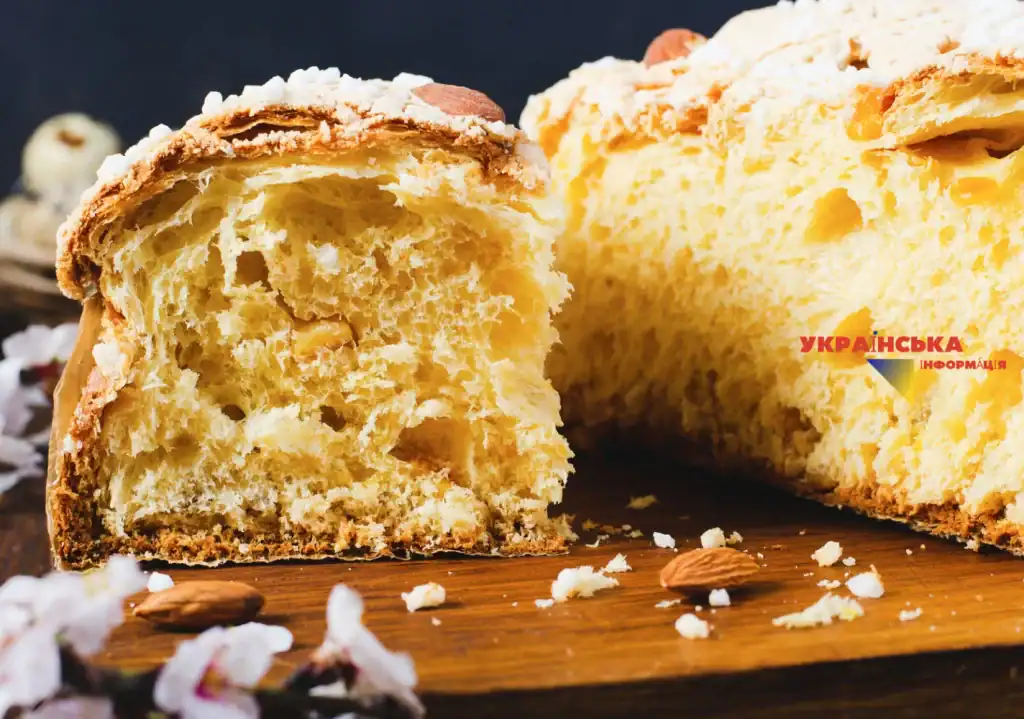
Fill paper or metal molds with dough only 1/3 of the way full (dough will rise proportionally during baking and fill the void). Leave them in the molds for another 40–50 minutes to rise (dough should rise almost to the edges). Bake at 170 degrees for 30–45 minutes (depending on the size of the mold).
Tip at this stage: If the top of the Easter cake starts to brown too quickly, cover it with damp parchment.
Tip for checking doneness: Check readiness with a wooden skewer — it should come out completely dry in the middle.
Stage 6: Preparing the gelatin mirror glaze
After you have taken out the Easter cakes, while they are completely cooling, start preparing the coating.
IMPORTANT: This glaze sets quite quickly, so it must be prepared immediately before application.
- Soaking gelatin. Pour 5 g of gelatin with 2 tablespoons of cold water. Leave for 10–15 minutes to swell.
- Cooking syrup. In a saucepan, mix 200 g of sugar and 50 ml of water. Place over low heat and, stirring, bring to a complete dissolution of the sugar (it is not necessary to bring to a boil, the main thing is uniformity).
- Combine the ingredients. Remove the hot syrup from the heat and add the swollen gelatin. Stir thoroughly to completely dissolve the gelatin in the syrup.
- Beating. Start beating the mixture with a mixer on high speed. It will be clear at first, but after 3-5 minutes it will turn into a thick, white and glossy foam. At the end, add a few drops of lemon juice for a nice tartness and shine.
- Decorating: Immediately dip the tops of the Easter cakes into the glaze or spread it with a spoon, creating beautiful “drip” patterns. While the glaze is still setting, decorate the pastries with candied fruits, nuts, or festive sprinkles.
Tip at this stage: Apply the glaze only to completely cold Easter cakes. If the baking is even slightly warm, the gelatin glaze may become too liquid and simply run down. If the mass has hardened in the bowl before you have time to decorate all the Easter cakes, simply heat it for a few seconds in a water bath – it will become plastic again.
Secret block: Why doesn’t the Easter egg come out? (FAQ)
Why did the dough fall in the oven or immediately after baking?
The most common cause is a too-rapid temperature change or a strong shaking of the mold. It can also happen if the dough has been sitting in the proofer for too long and has “walked around”, losing its strength to hold its structure.
How to make sure the Easter cake is not dry?
The secret to fluffy Easter cake is in the fats. Don’t skimp on high-quality butter and be sure to add sour cream or cream. Also, don’t overcook the pastry in the oven — as soon as the skewer becomes dry, take it out immediately.
Why does the icing stick or crumble when cut?
Classic protein icing often crumbles. For the perfect coating, use a gelatin recipe. This icing sets into a dense, glossy mass that tastes like marshmallows and doesn’t stick to a knife at all.
Conclusion: Your path to the perfect holiday
I hope now you know all my secrets of professional Easter cake making and how to make a delicious Easter cake even if you’ve never made it before, which will become the main decoration of your basket on April 12, 2026. Don’t be afraid to experiment with fillings: in addition to raisins, you can add dried cranberries, chopped white chocolate, or even a little cardamom for a spicy aroma.
Read also: Easter basket 2026: what to put in it and what is strictly forbidden to bless
Share this recipe with your loved ones and friends on social networks or Viber so that everyone has the most delicious homemade pastries on the table.
And in order not to miss the next holiday life hacks, recipes for Easter breakfast, and current news from Ukraine, subscribe to our Telegram channel: “Ukrainian Information” .