
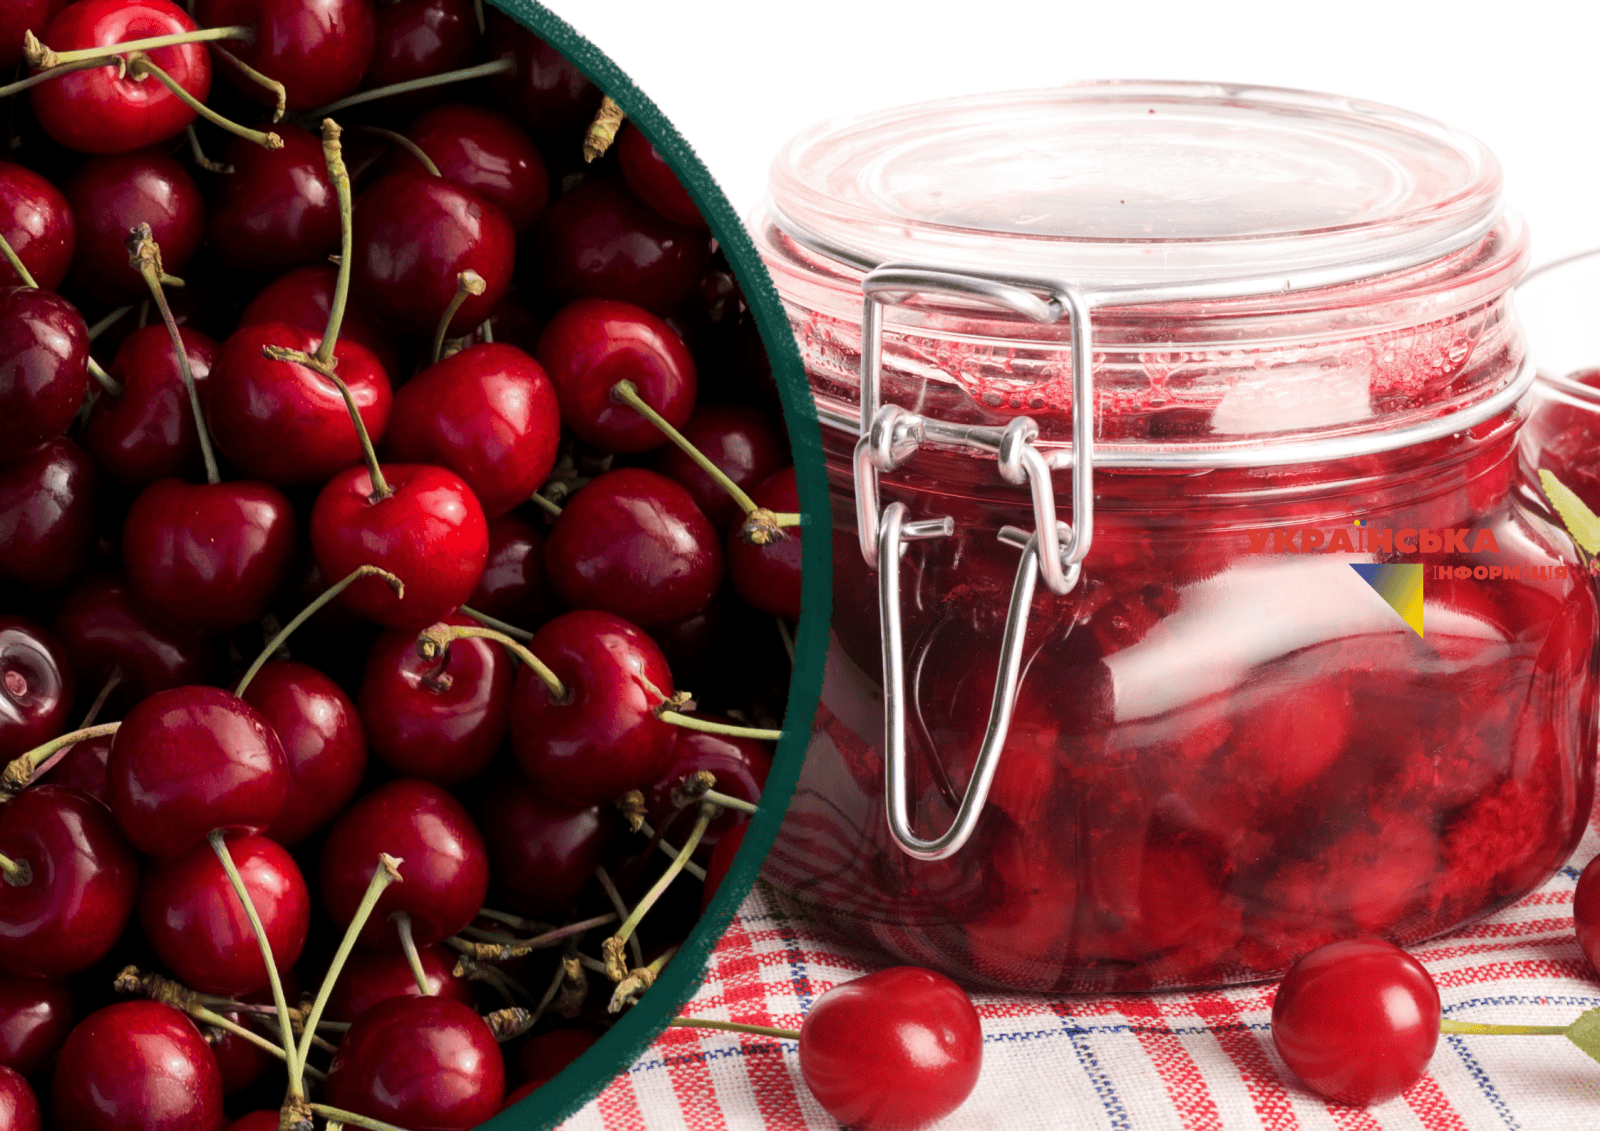
Midsummer gives us a lot of delicious and healthy products that just grow on trees in the garden, at the cottage, by the road or even on your way to work. Today we are preparing cherries, if anyone didn’t know, this is a berry with a perfect balance of acid and sweetness. But classic cherry jam often turns out to be too liquid and is not at all suitable for filling pies, dumplings or pastries. If you want to taste healthy cherries in winter, which provide many useful vitamins for colds or simply to strengthen immunity, you need a recipe for cherries in their own juice.
The main advantage of our recipe for cooking cherries in their own juice is that this berry does not lend itself to direct cooking, so even pitted cherries remain whole, elastic, and retain their fresh summer flavor.
Read also: Thick blackcurrant jelly (jam) for the winter: A gelatin-free recipe that “has a spoon”
Why is it worth closing the cherry in this way?
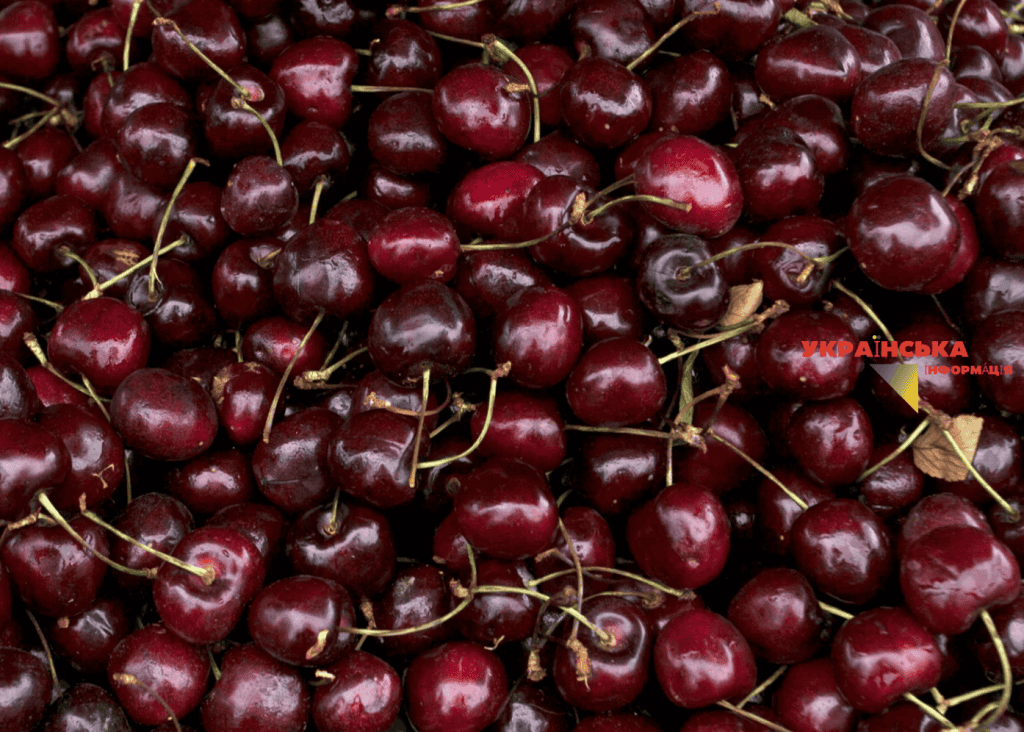
This recipe is breaking records in popularity among housewives not only in Ukraine, but even among European chefs for several reasons:
- Sugar savings: Unlike jam, a minimum of sweetener is used here.
- Versatility: In winter, you get two products at once — luxurious whole berries for baking and concentrated cherry juice for compotes or soaking biscuits.
- Perfect texture: Berries do not shrivel or turn “rubbery” because they are pasteurized right in the cans.
Secret from the chefs I interviewed: Dark, fleshy cherries (like Chornokorka or Zustrich) work best for this recipe. They are the sweetest and produce the darkest, ruby-red juice.
Ingredients: Nothing extra
To make cherries in their own juice, you need surprisingly little: just two simple ingredients: cherries and sugar. The proportion of sugar depends solely on your taste and the natural acidity of the berry.
| Ingredient | Number | Note |
| Cherries (fresh) | 1 kg (weight without bones) | Choose ripe but firm fruits. |
| Sugar | 200–300 g | For easy canning and juicing |
Step-by-step instructions: From preparation to rolling
Although it only requires two ingredients, the process does require a bit of patience, especially during the cleaning stage. However, the canning itself is very easy and without any mess in the kitchen or spilled juice on the stove.
Step 1: Proper preparation of berries
Wash the cherries in cold water and be sure to remove the pits (drilling). You can do this either with your hands, always wearing sterile gloves, or with a special device, a regular pin, paper clip, or even a cocktail straw, pressing the berry through. Try to preserve the integrity of the cherry as much as possible and not lose the juice that is released.
Step 2: Sugar Pickle
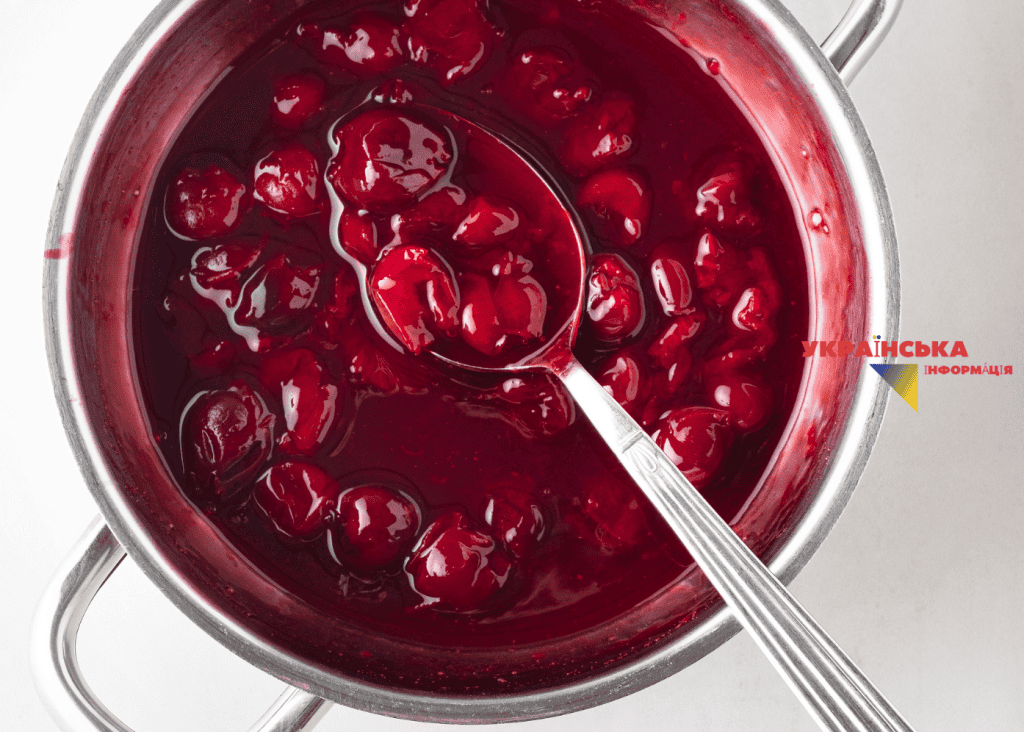
Transfer the peeled cherries, along with the juice that has separated, into a deep bowl. Pour over the sugar, mix gently (it is better to just shake the bowl a few times so as not to crush the berries with a spoon). Leave at room temperature for 3-4 hours. During this time, the cherries will release a lot of juice, and the sugar will completely dissolve.
Step 3: Banknote
Prepare clean, sterilized half-liter jars. Arrange the berries in the jars, filling them to the “shoulder” (not to the very edge). Pour the juice from the bowl over the berries. If the juice suddenly runs out, don’t worry — the berries will settle and release more liquid during sterilization. Do not add water, gelatin, or preservatives.
Step 4: Sterilization in water
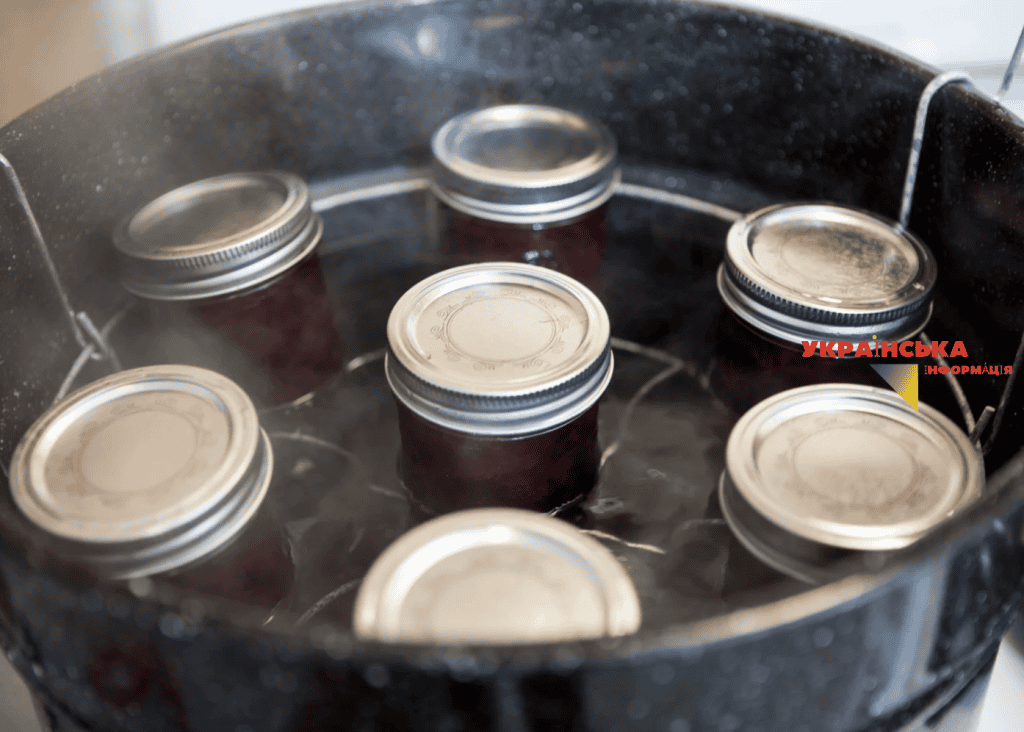
Place a towel or silicone mat on the bottom of a wide saucepan (this will save the jars from cracking and hitting). Place the jars with cherries and cover them with clean lids (do not tighten!). Pour water into the saucepan to the “shoulder” of the jars. Bring the water to a boil over medium heat. After the water boils, sterilize the half-liter jars for exactly 15 minutes.
Step 5: Rolling
Carefully remove the jars from the boiling water and immediately screw the lids on tightly. Turn them upside down, wrap them in a warm blanket and leave them until completely cooled (about a day, or up to two days).
Frequently Asked Questions (FAQ)
What to do if there is too little juice?
If the cherries are a bit dry and there isn’t enough juice to cover the berries in the jars, simply add a little boiling water before sterilizing the jars. This won’t affect the quality of storage.
Where to store cherries in their own juice?
Thanks to the sterilization process, this preparation is great even in an apartment (in a dark pantry or kitchen cabinet away from batteries). The shelf life is up to 2 years, but it is usually eaten before spring.
Can this method be used for cherries?
Yes, the technology is absolutely identical. But since cherries are much sweeter and have almost no acid, it is worth adding a pinch of citric acid (on the tip of a knife to each jar) so that the preparation does not turn out stale and is better stored.
Want to receive more news on this topic? Subscribe to our Telegram or Viber by clicking on the text!